


Hannah Richey
Opinion Editor
[email protected]
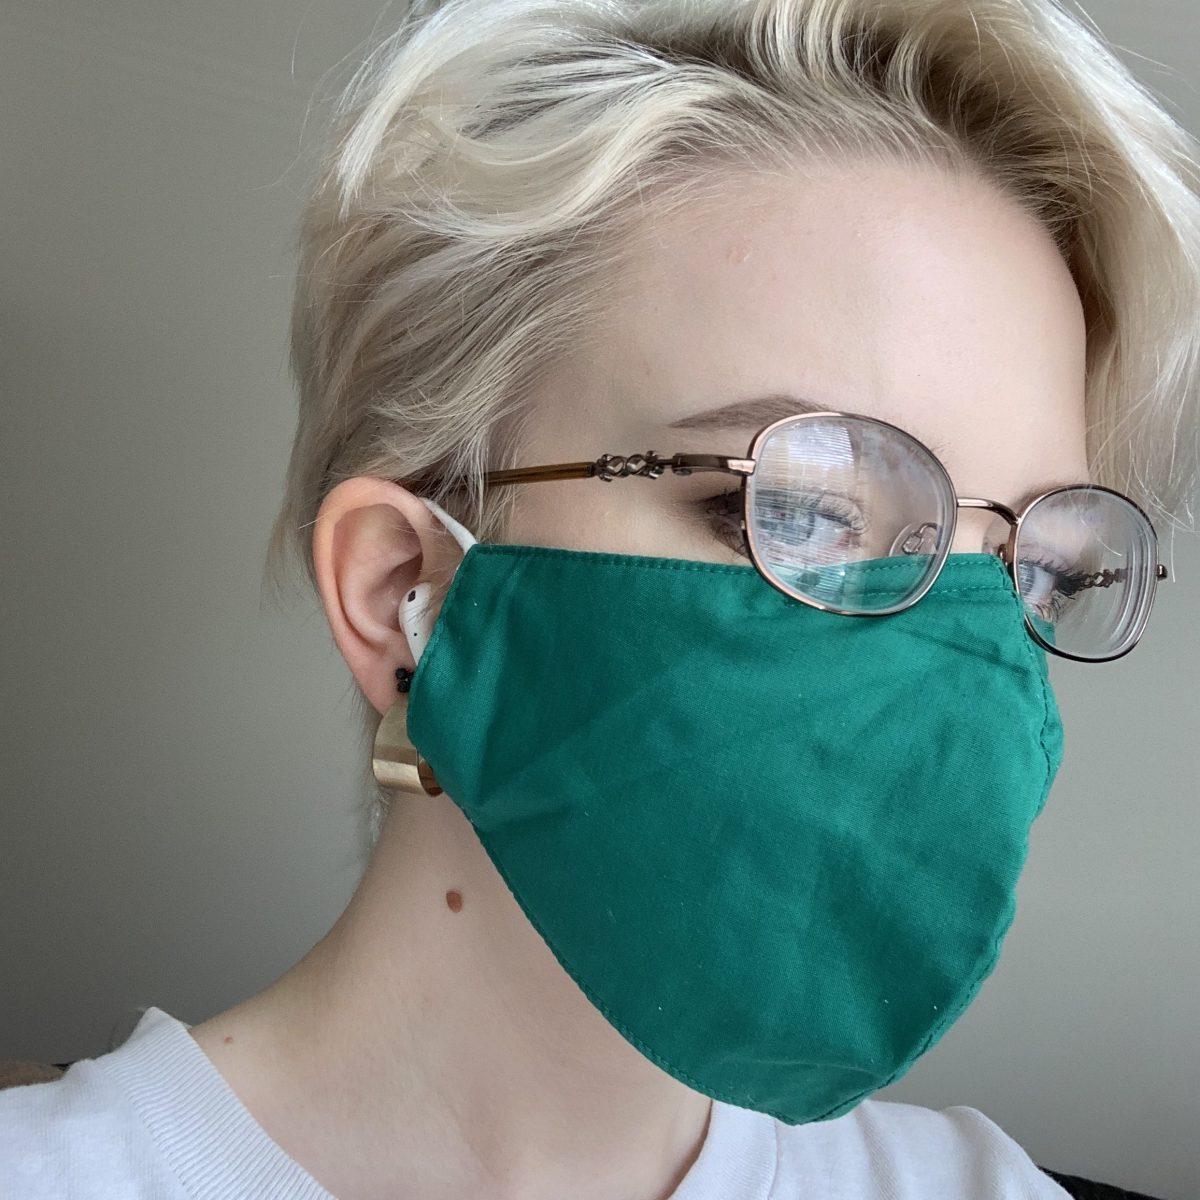
Most masks are suffering from the one-size-fits-most problem of being the wrong size for a lot of people. It’s important that your mask fits correctly and isn’t too big so that excessive air isn’t coming out of the sides.
Fixing the issue of a too-big mask is fairly simple and only requires 3 tools.
Step 1: Supplies
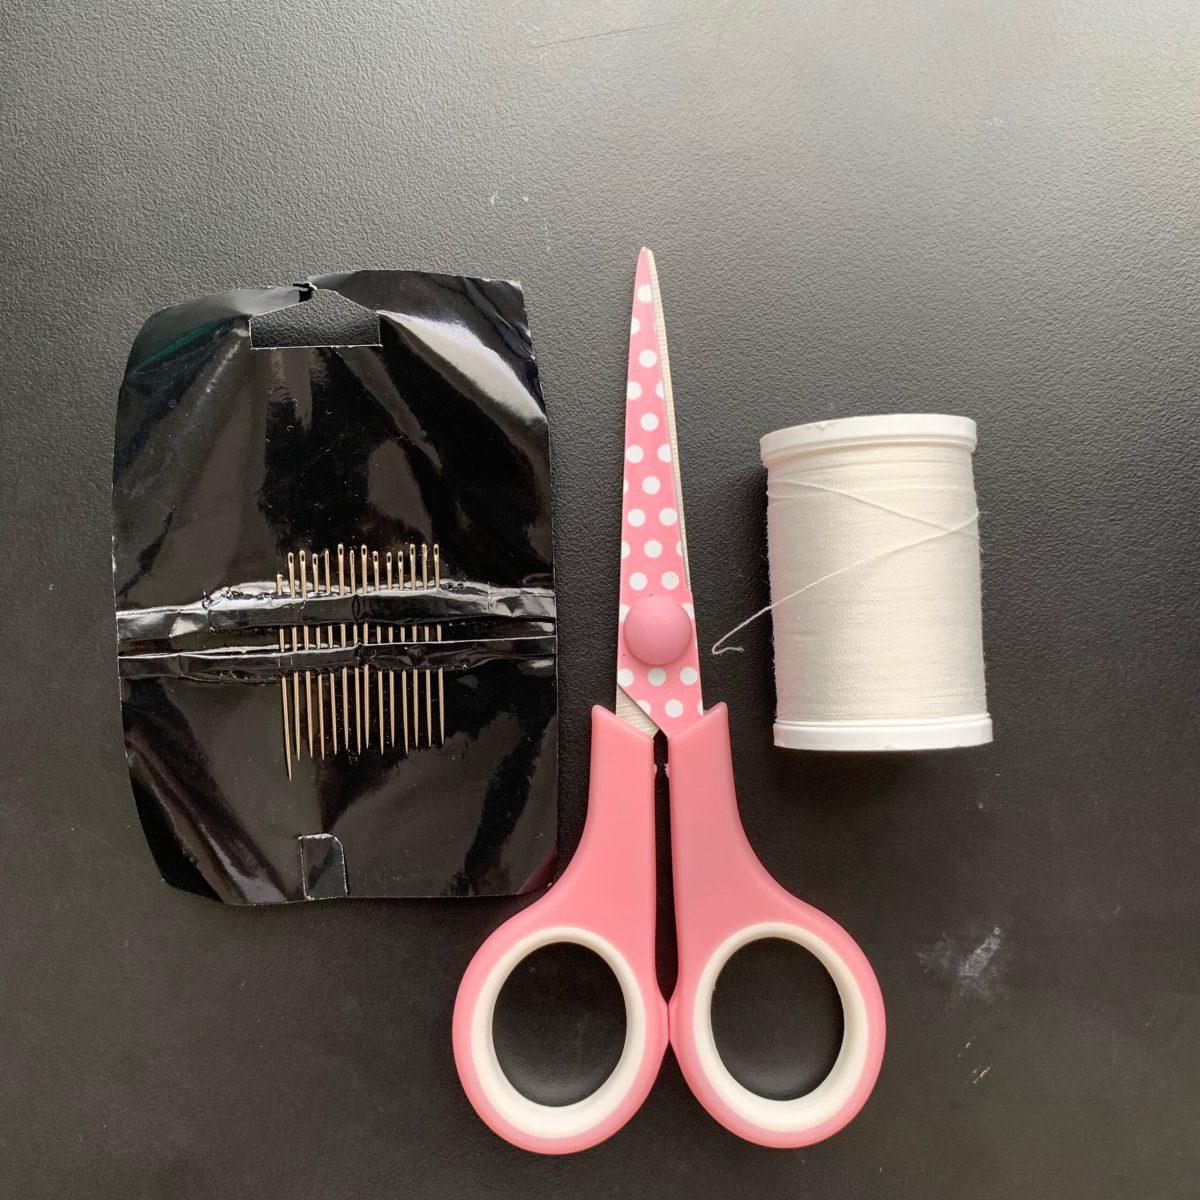
Get a sewing needle, scissors and thread. If you really don’t want the stitches to show, use thread the same color as your mask. If it isn’t the same color it still likely won’t be visible since it will be at the edge of your face.
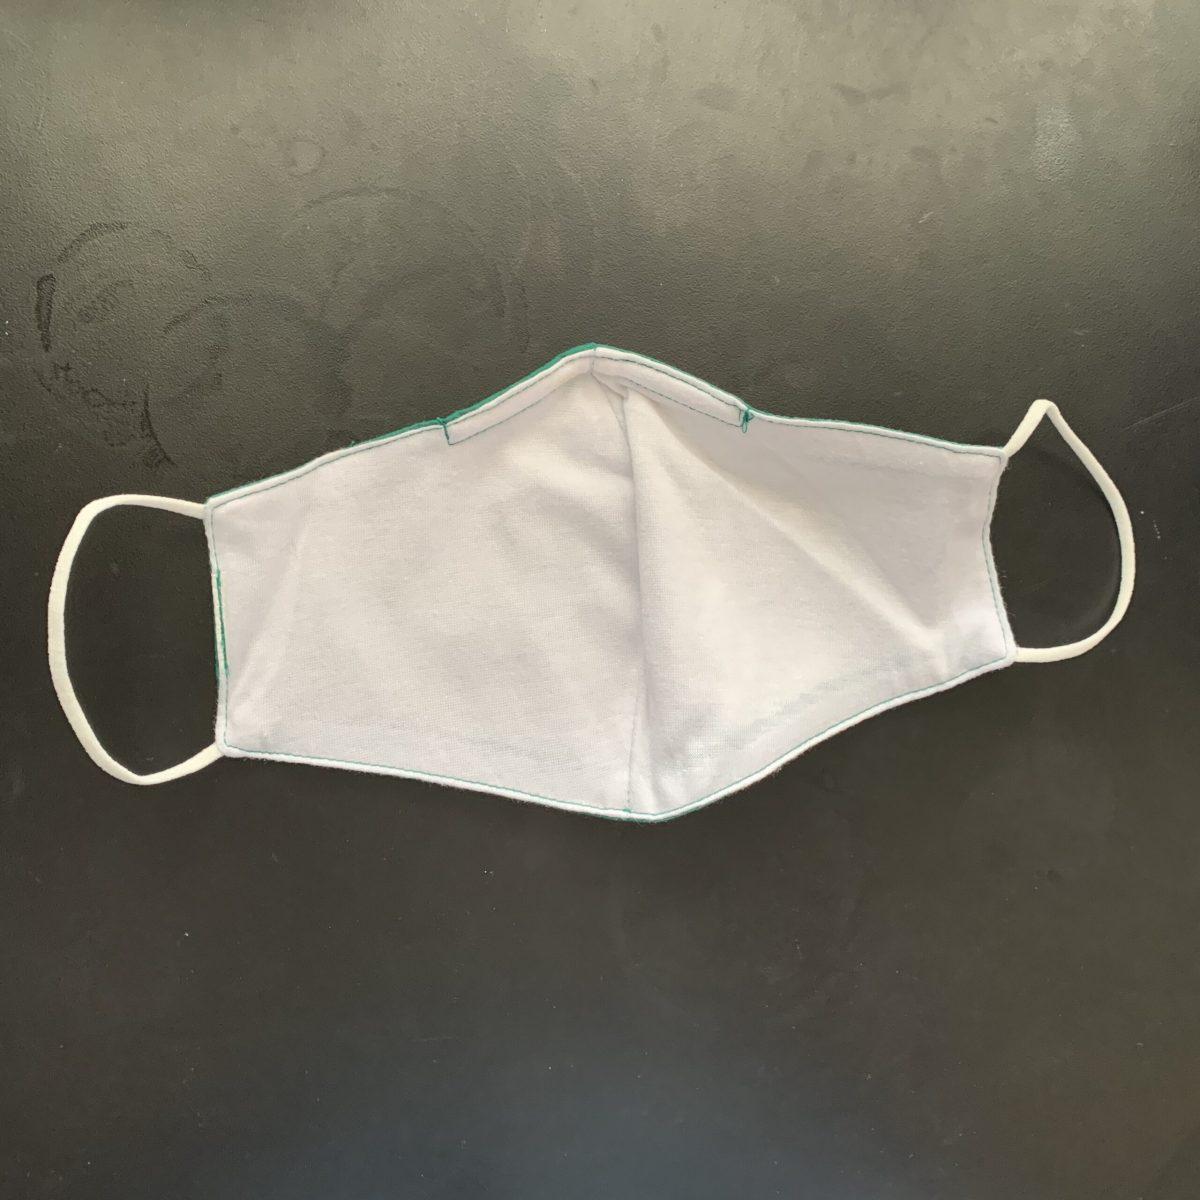
Step 2: How’s the fit?
Check your mask fit. Determine if it’s loose on the top or bottom of the ear loops (or both). Mine was loose on the bottom since the chin area was hanging down the most.
Step 3: Thread the needle
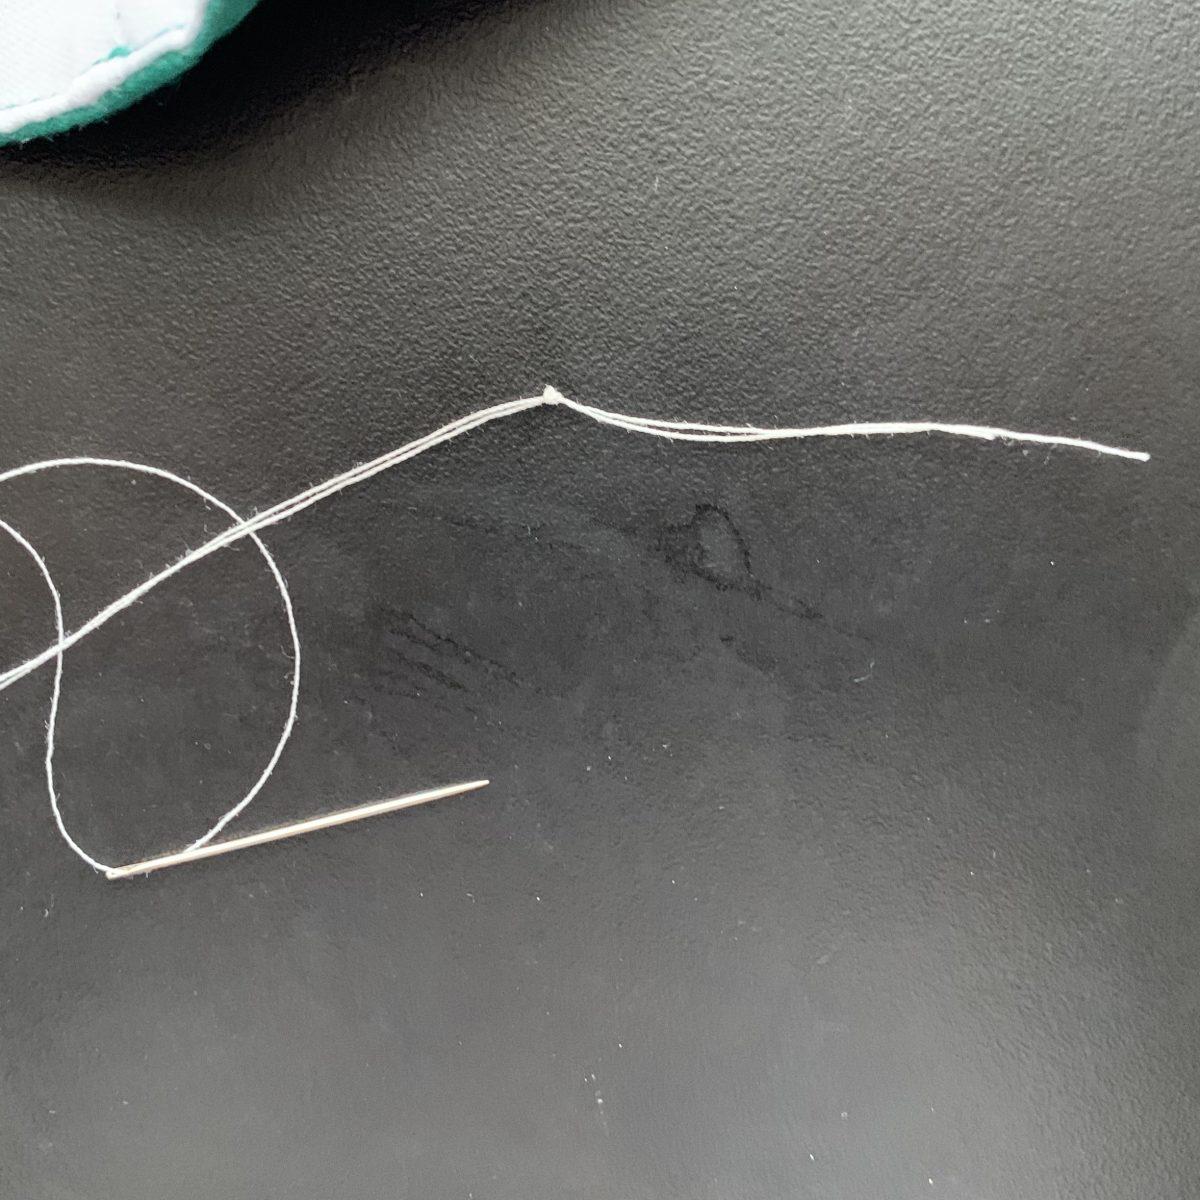
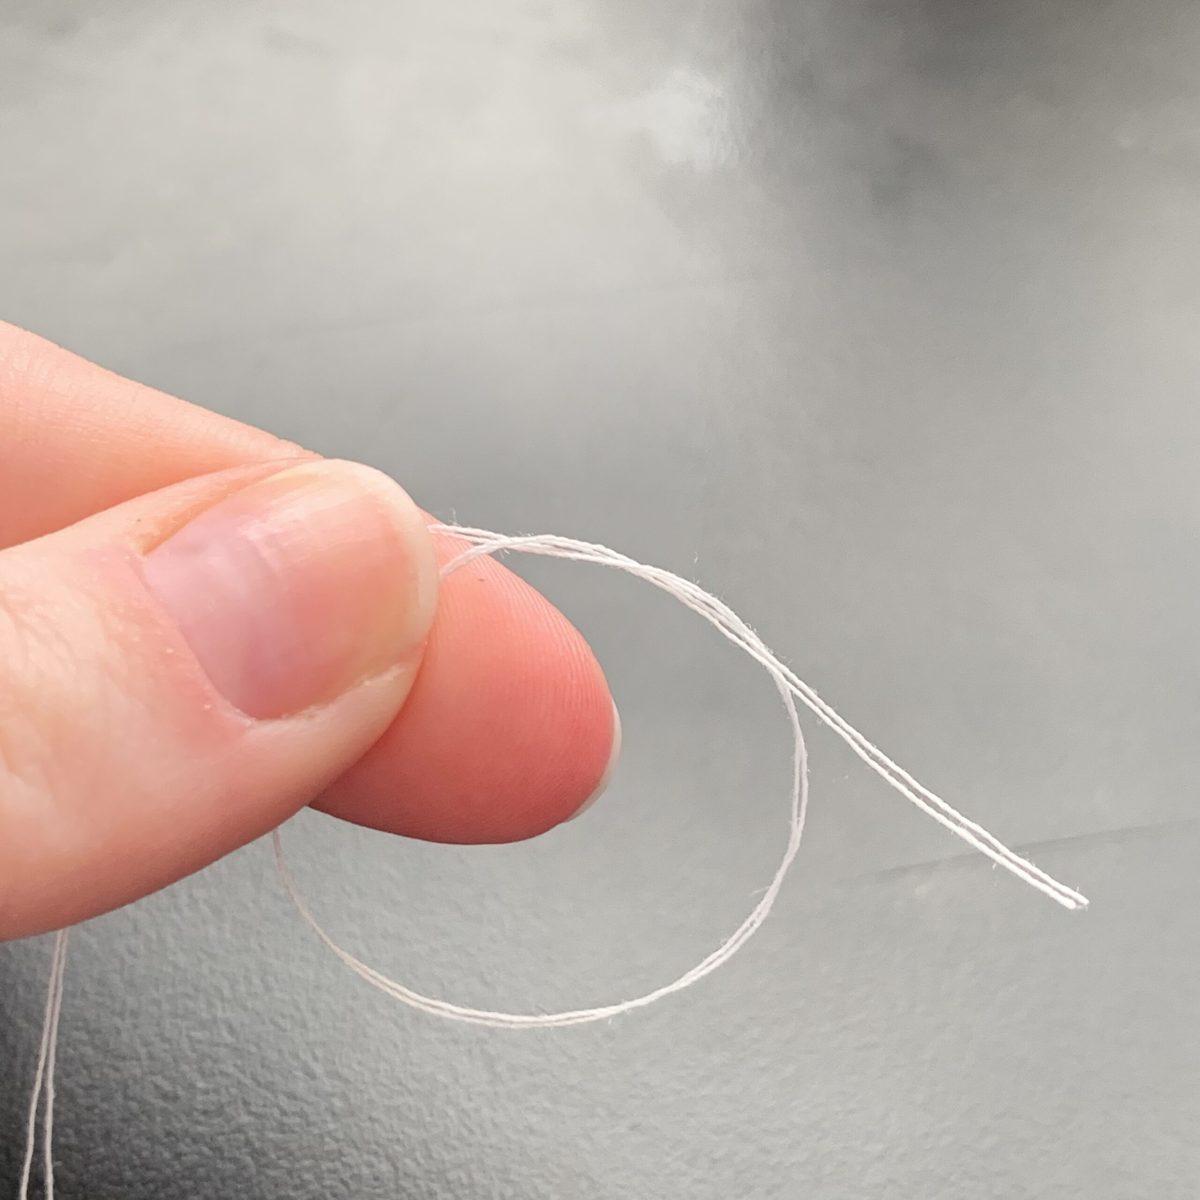
Push the thread through the needle. It might take a few tries if you’re inexperienced. If your thread is frayed at the end you can trim it again to fix it. Then tie a knot at the end twice so it doesn’t pull through when you start sewing.
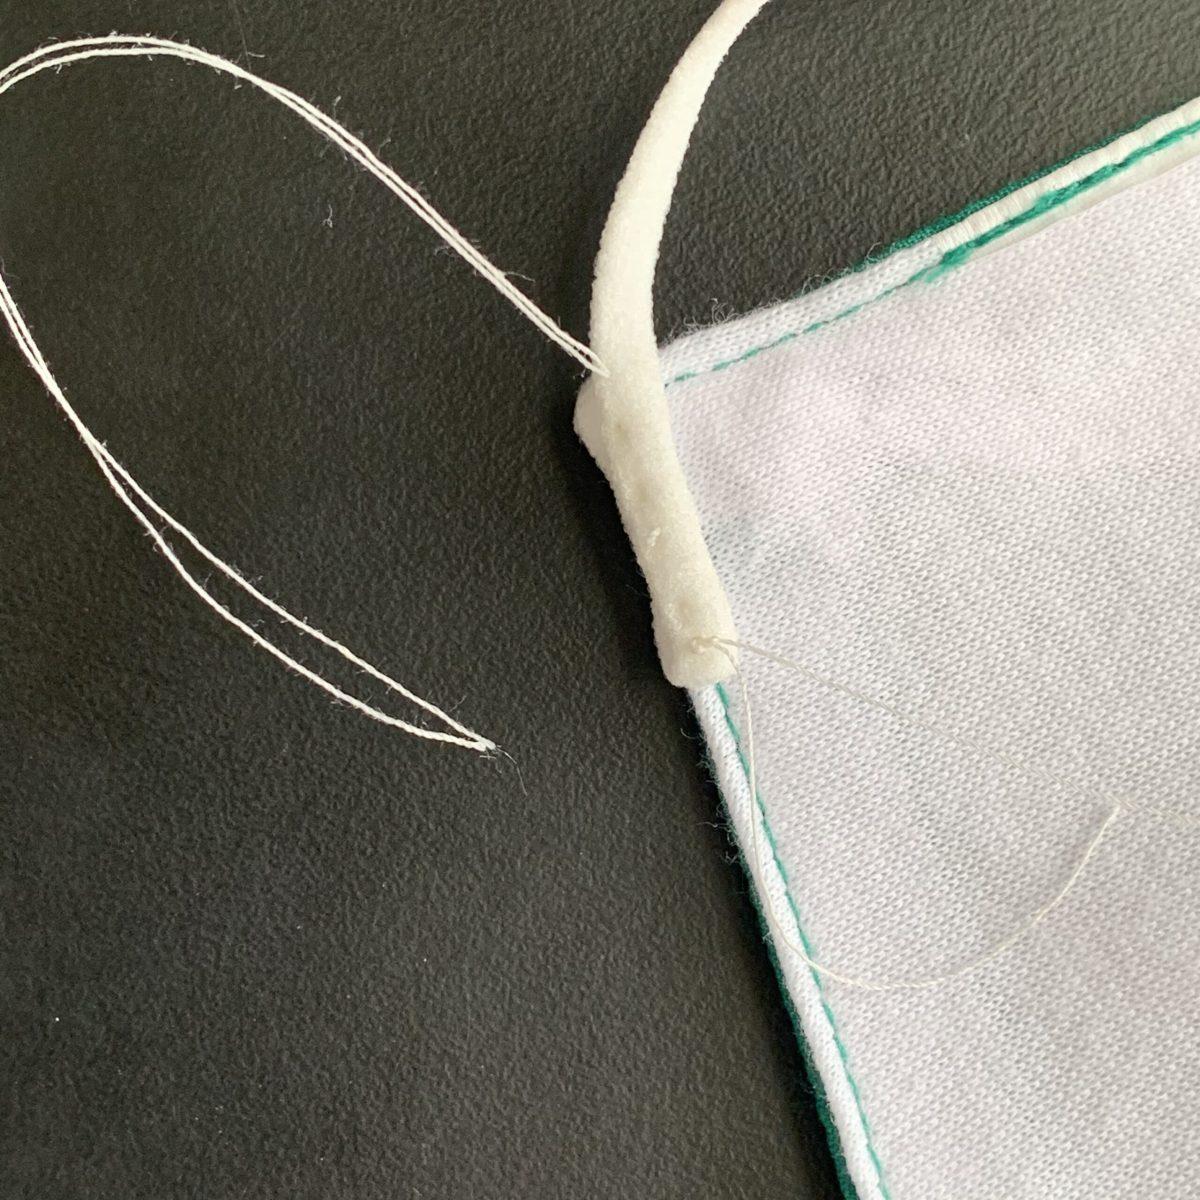
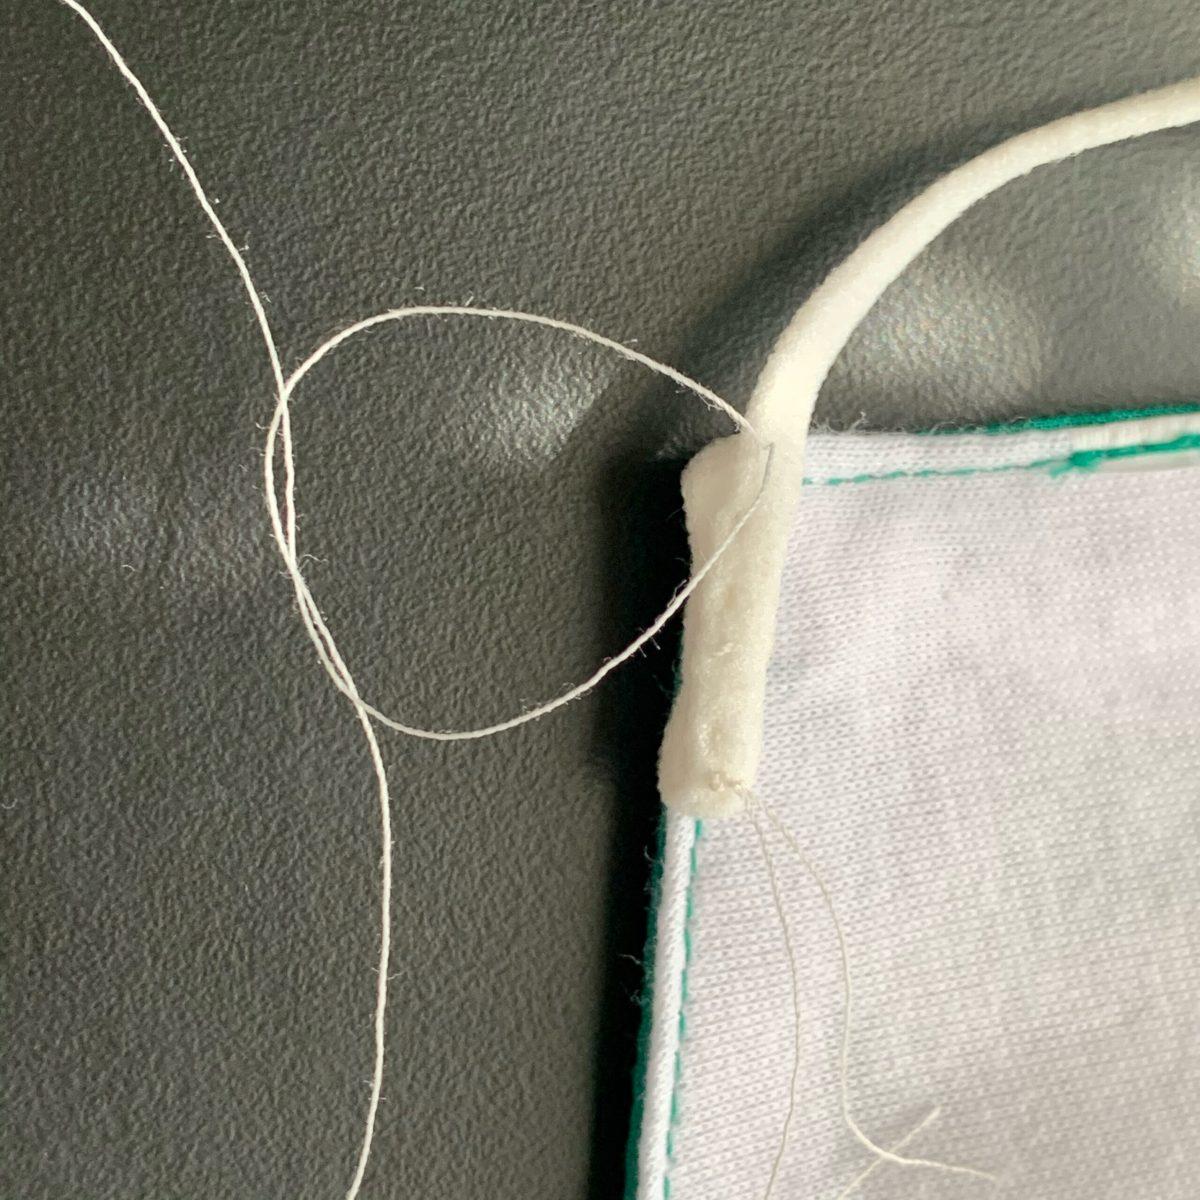
Step 4: Folding
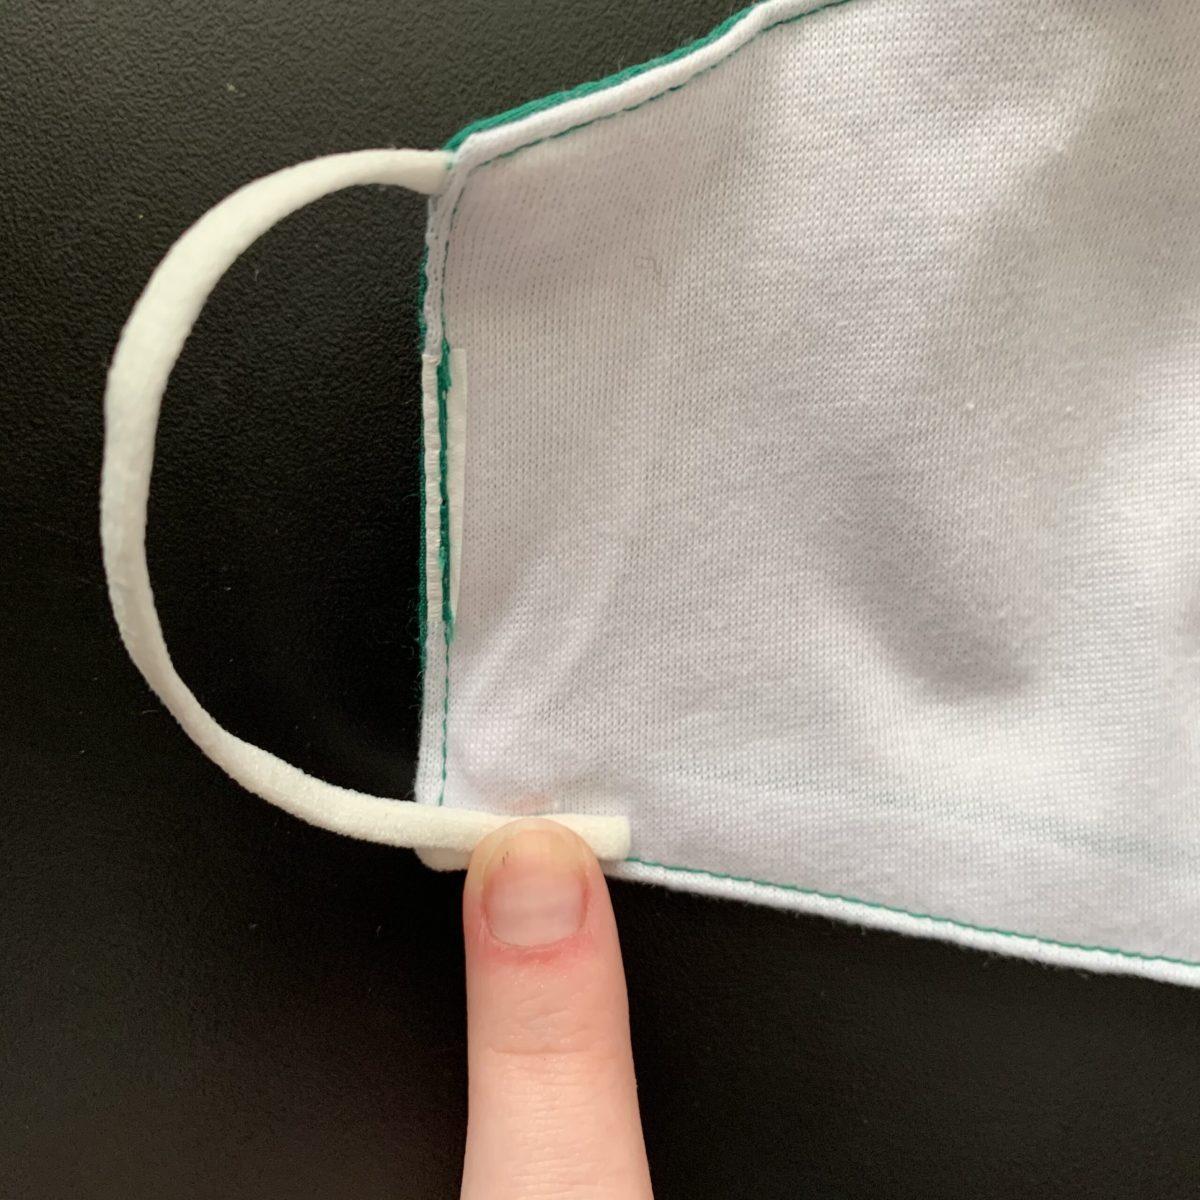
When you’ve decided what needs to be taken in, fold your ear elastic or loop over once and back over itself. If you only fold it once, it will pull and likely come apart quickly due to the pulling. The pictures later will show this more accurately.
You can do this on the top and/or bottom. If you have pins, you can pin it in place but these ear loops are thin so it was more trouble to pin.
Step 5: Sewing

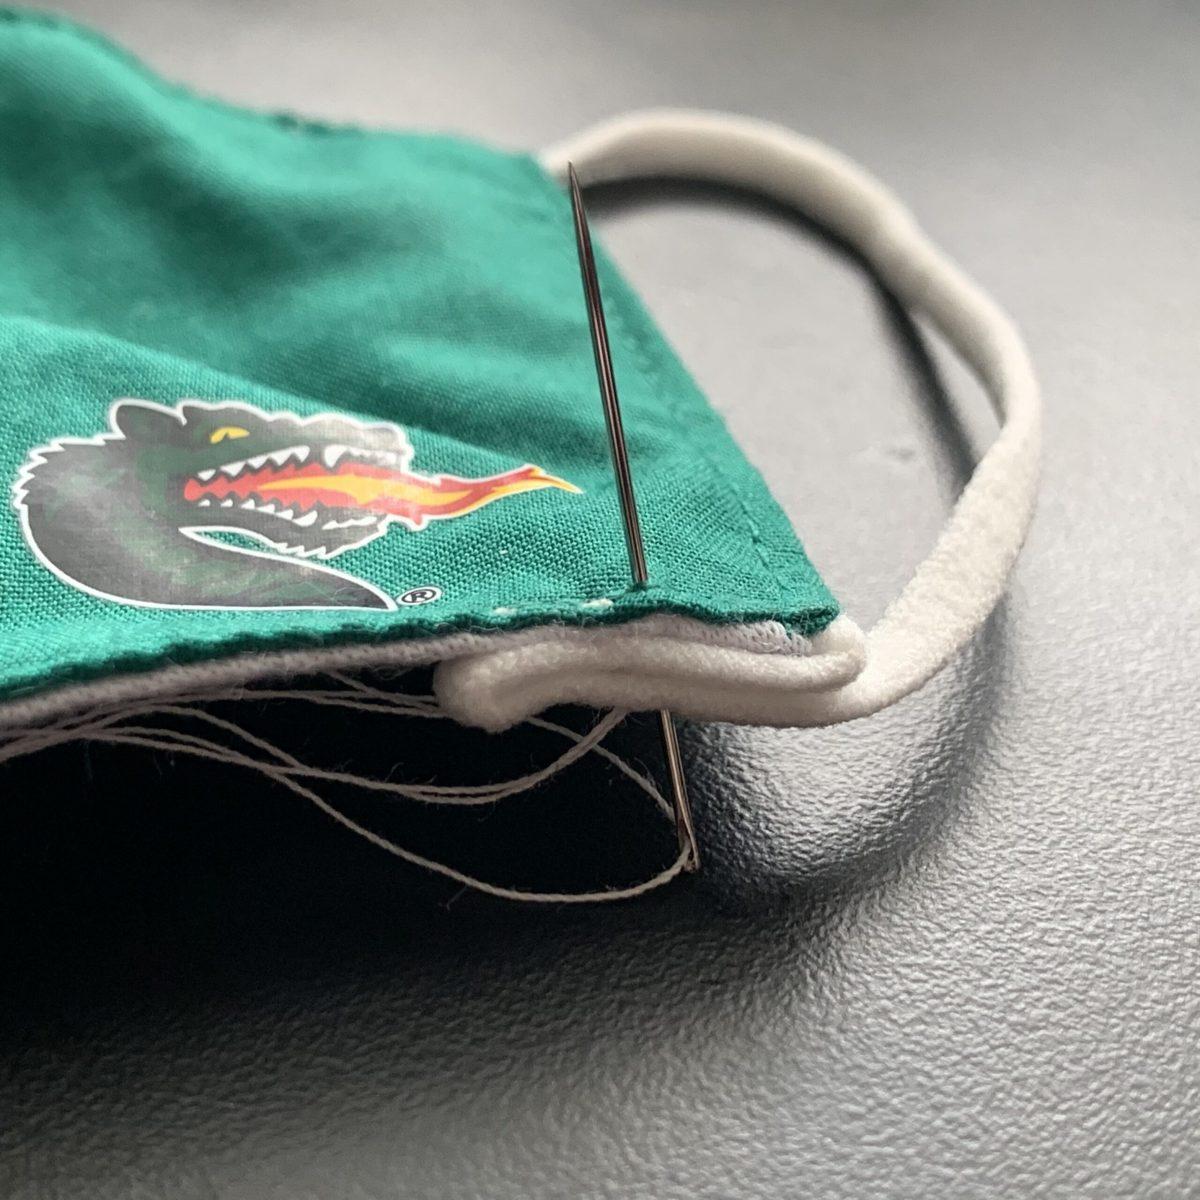
Here is where you start sewing. Start from the inside of your mask so the knot doesn’t show on the outside. You’ll have to hold the fold in place firmly for the first two stitches but then it should stay in place.
After you pull the needle through to the other side push it back through the front side to the back.
If you have trouble pushing the needle through, you can use a surface you’re at to push it. Even the looped side of the needle is somewhat sharp so don’t push on it too hard with your fingers.
Keep your stitches short and closer together so they are tight. This will ensure that the stitching doesn’t come undone.
If your mask has wider ear loops, it may be beneficial to do the perimeter of the straps so it stays flat.
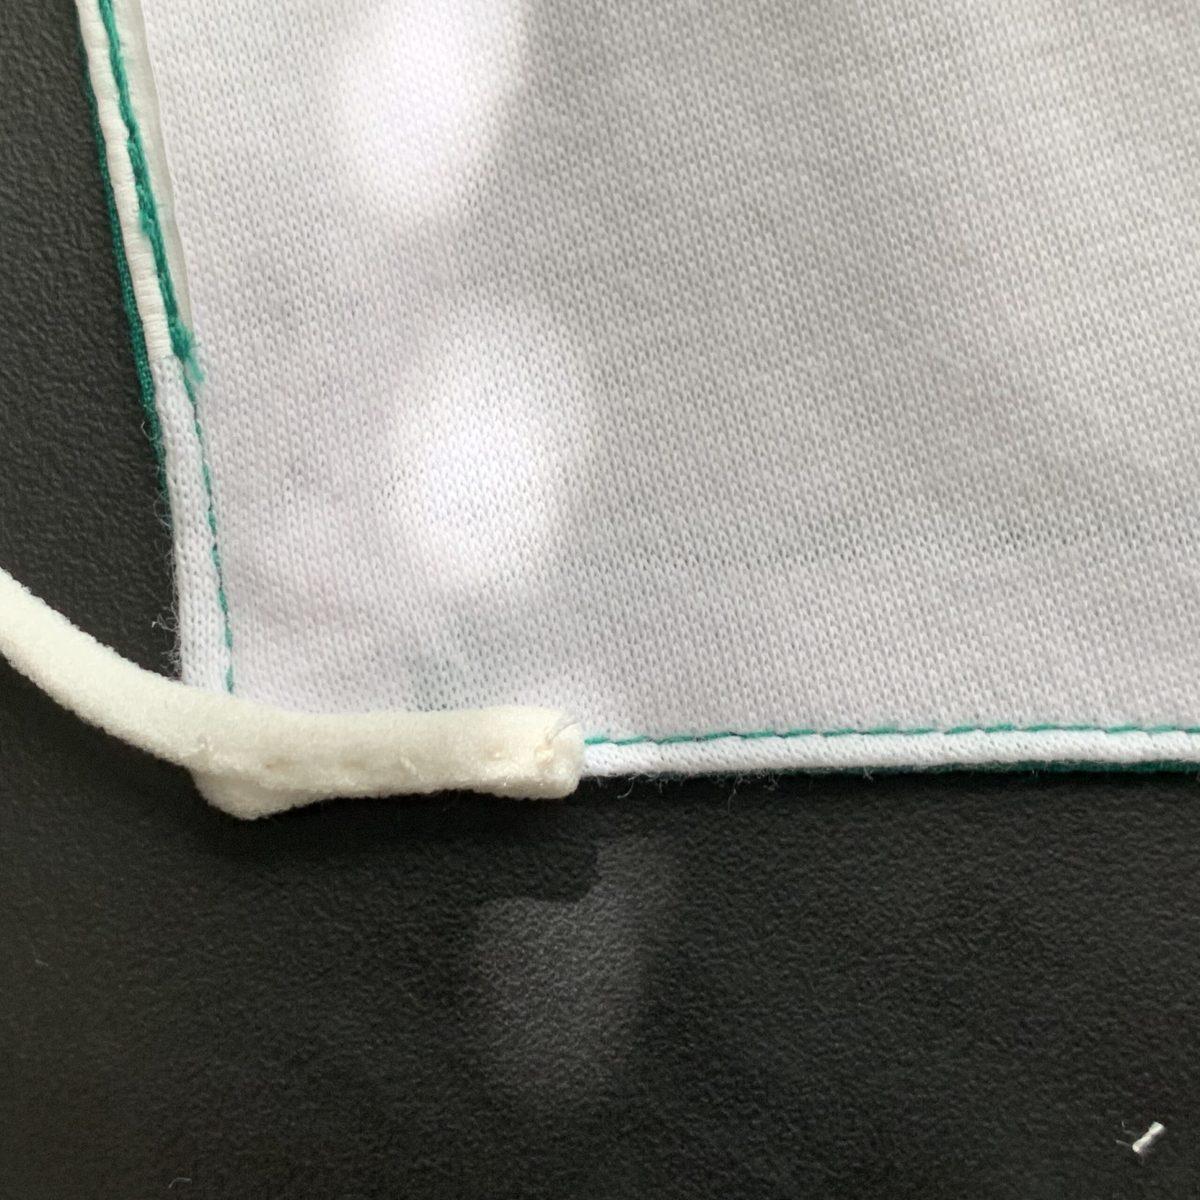
Step 6: Finishing touches
After you stitch all the way down, cut the thread. Be sure to leave a few inches so you can tie a knot. Tie it two to three times to make it secure. Then cut the excess thread off both ends.
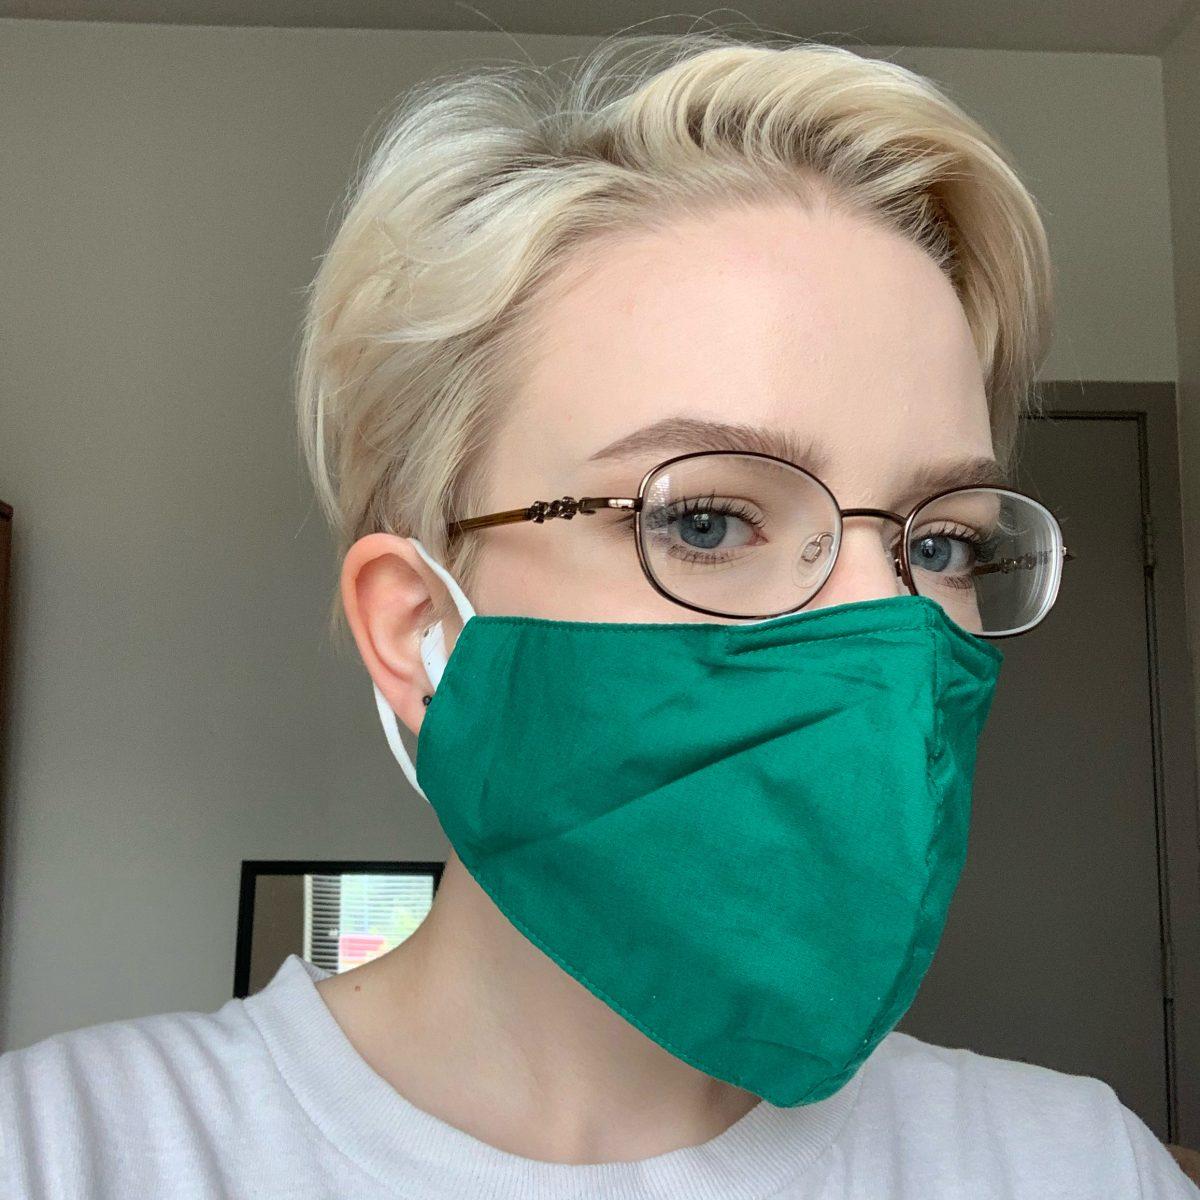
Step 7: Wear your mask
Now admire your work and enjoy your personally tailored mask.